If you have a furnace that utilizes a pilot light, it’s not impossible that you may, on occasion, encounter issues with the pilot light going out. Perhaps you are even experiencing problems with it now. This may even be the reason why you have stumbled across this blog today. Whatever the case – we know how this can be frustrating. But it doesn’t have to be! Relighting a furnace pilot light is a relatively simple process. So, without further ado, here are the steps you need to take to get your pilot light relit once again, provided by yours truly, Huber Heights Heating & Cooling.
WHAT ARE THE STEPS TO RELIGHTING THE PILOT LIGHT ON YOUR FURNACE?
- Step One: Let’s locate the pilot light’s location first. Even though your pilot light is currently out, it shouldn’t be too hard to locate the burner and pilot light opening. Usually, it is hidden behind a panel or door, known as the burner cover. If so, you will need to remove the burner cover so that you have access to the pilot light.
- Step Two: Turn your furnace off with the power switch (usually located at the base of the furnace.)
- Step Three: It’s crucial not to skim over this step. But before you start the relighting process, make sure to turn off the gas supply to the furnace. This is imperative for safety reasons. Furthermore, after the gas valve is shut off, it’s necessary that you wait for a minimum of at least five minutes before proceeding with the relighting process. Doing this will give the gas supply enough time to dissipate before relighting the pilot once again. Otherwise, this could be detrimental to your safety and your home.
- Step Four: In the meantime, while you wait, you can use this time to locate the pilot light assembly. It usually is the form of a knob-like switch labeled “pilot,” “reset,” “on,” and “off.” The exact wording may be subject to vary.
- Step Five: Use these next few minutes to clean the area surrounding the pilot light. This area should be clear and free from loose debris. You can use a small brush, toothbrush, or even a cotton swab to clean around the pilot light. It may seem like such a minor step, but doing this can make all the difference in helping to ensure that the flame can reignite and stay lit.
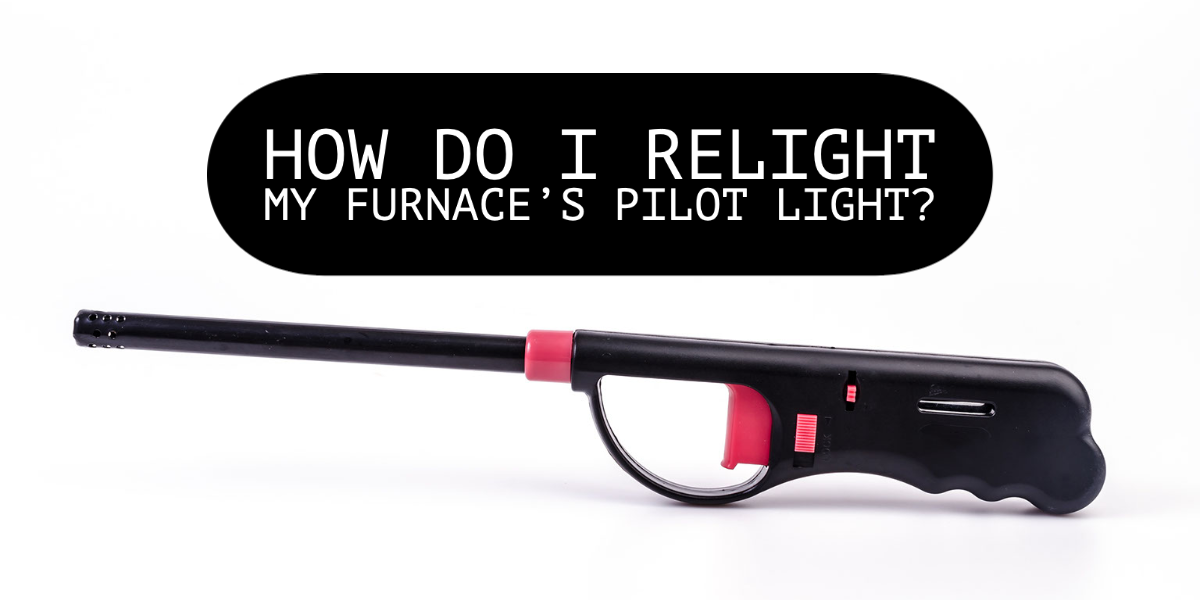
- Step Six: Now, it’s time to relight the pilot light. Go ahead and turn the knob to the “pilot” setting. Then press and keep holding down the “reset” switch while you simultaneously light a long-ended match or lighter and bring it slowly toward the pilot light. Move with caution – the pilot light should ignite once the lighter or match is close enough. When the flame has lit, you may release your hold on the “reset” switch.
- Step Seven: Make sure you turn the gas supply back on when all is said and done.
- Step Eight: Lastly, don’t forget to replace the burner cover back in its original position!
When you follow these steps, you should be able to successfully relight your furnace pilot light and get your home toasty and warm once again. Keep in mind that if you walked through this guide step-by-step, and the pilot light flame ignited but will not stay lit upon releasing of the “reset” button, there may be an underlying system issue. If this is the case, then please give us a call!
As always, if you’re unsure about any aspect of the pilot relighting process, it would be in your best interest to call a licensed HVAC professional like Huber Heights Heating & Cooling. Call us today at (937) 226-9675, or schedule an appointment online now by clicking here!


